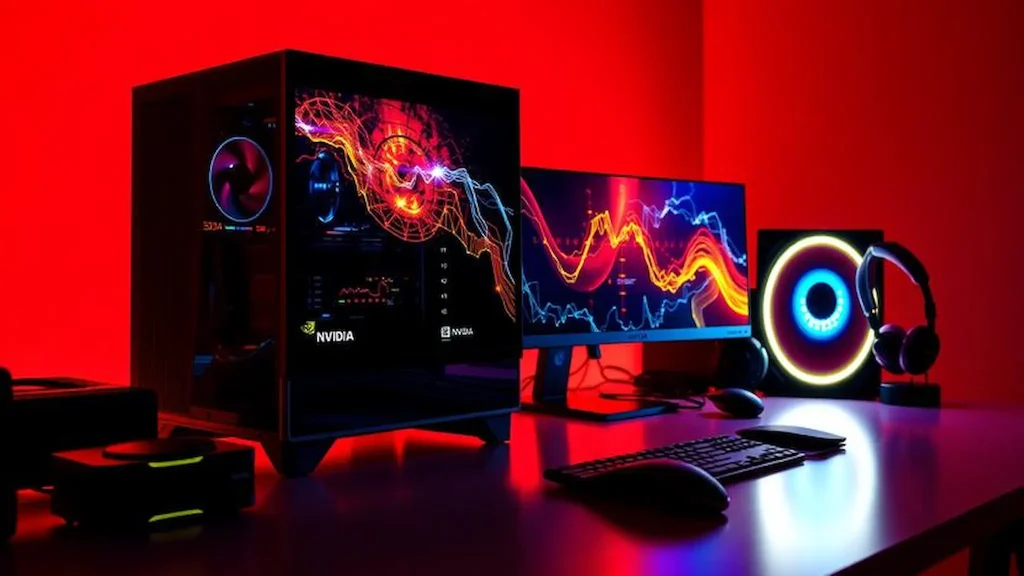
Why Build Your Own PC?
Building your own PC might seem intimidating at first, but it’s actually much easier than you think. When you see someone build a PC without any cuts or edits, you realize it’s a step-by-step process that anyone can master. Once you build your first PC, you’ll never go back to buying pre-built systems again.
The best part is the freedom to choose exactly which components you want, mix and match them to your specific needs, and potentially save money in the process. This guide will walk you through every stage, turning that intimidating first build into an achievable and rewarding experience.

Essential Tools You’ll Need
Before we dive into components, let’s talk tools. You don’t need a fancy toolkit – just a good screwdriver with a magnetic tip will get you through most of the build. I’ve been using an iFixit screwdriver set for years, and it’s one of the best investments I’ve made for PC building and general electronics repairs.
It comes with multiple bits, extensions, and magnetic tips that make handling tiny screws much easier.
A magnetic screwdriver is essential. Dropping a screw inside your case can be frustrating, and the magnetic tip makes retrieval much easier. The iFixit set also includes an anti-static wrist strap, which is worth using when handling sensitive components.
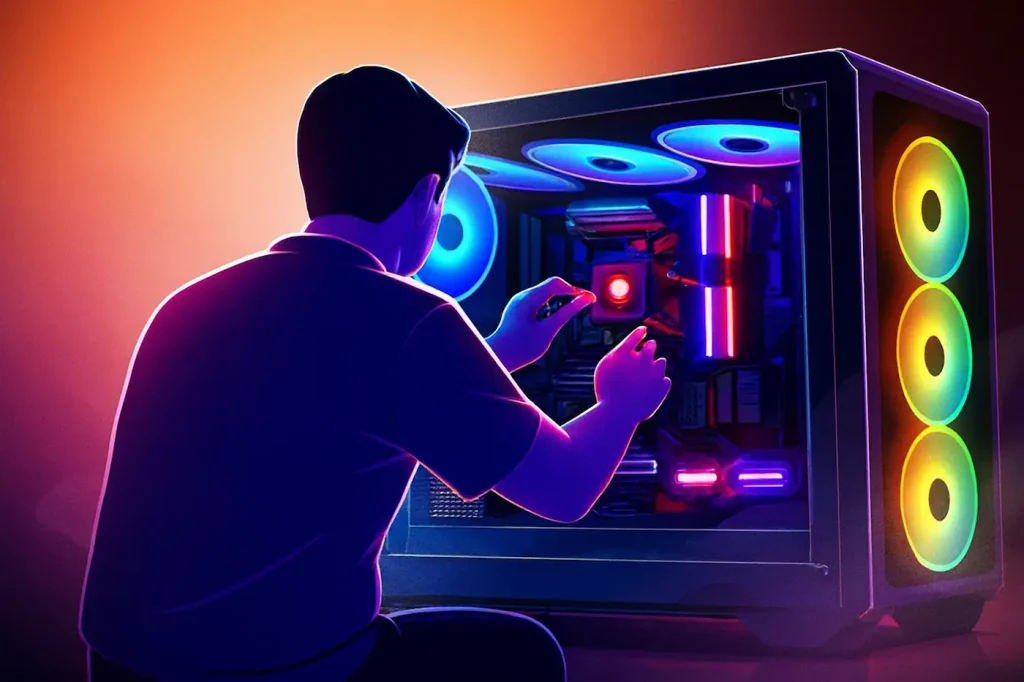
The Foundation: Motherboard Preparation
Your motherboard is the backbone of your build, so handle it with care. When unboxing, place your hand underneath the motherboard to support it from below, then use your thumb on top to gently lift it out. This prevents touching any sensitive components.
Pro tip: Build directly on the motherboard box (after removing components). This creates a stable surface and prevents bending. When placing RAM or other components, make sure you’re using the correct slots – for most motherboards, you’ll want to populate A2 and B2 first before using A1 and B1.
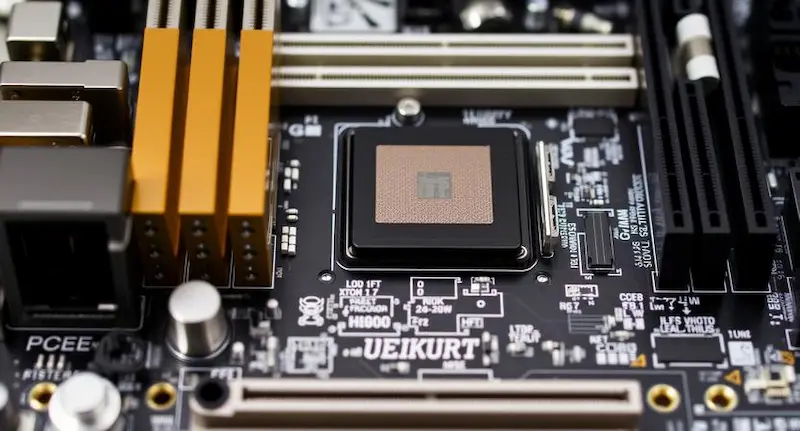
Installing the CPU: The Brain of Your System
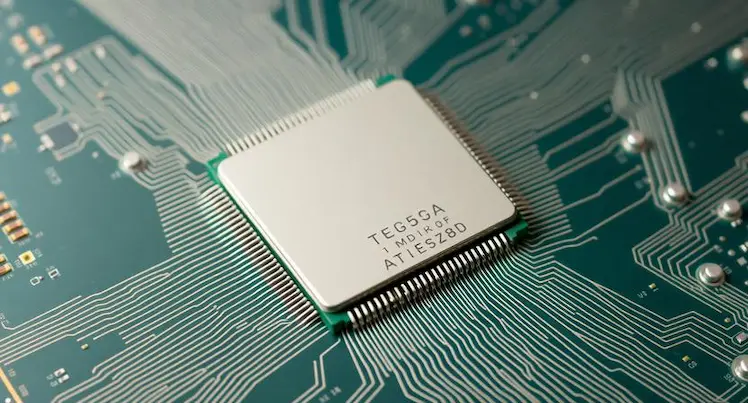
The CPU installation is straightforward. Open the socket lever, align the CPU with the arrow markers (they only fit one way), and gently drop it into place. Close the lever, and you’re done.
For Intel 13th and 12th gen CPUs, consider a contact frame like the Thermal Grizzly one. It’s only about $10 but helps distribute pressure more evenly across the rectangular CPU design, potentially improving longevity and cooling performance. The installation is foolproof with a hard stop that prevents overtightening.
Memory Matters: Choosing and Installing RAM
When selecting RAM, check your CPU’s supported speed. For Intel 13th gen, 5600MT/s is the official spec, though many CPUs can handle much faster. The kit I’m using is 64GB of Corsair Vengeance DDR5, which offers excellent performance at a great price point.
Installation is simple – open the clips, align the notch, and press down until you hear a click. For dual channel motherboards, using all four slots gives you the best performance, but if you’re only using two sticks, make sure to populate A2 and B2 first.
Cooling Solutions: Air vs Liquid
For this build, I chose the Noctua NH-U12A Chromax.Black cooler. Air cooling has come a long way – it’s completely hassle-free, reliable, and more than sufficient for even high-end CPUs like the i9-13900K.
Liquid cooling might offer slightly better temperatures, but it introduces complexity, potential leaks, and maintenance that most builders don’t need. The Noctua NH-U12A is exceptional – it’s compact, quiet, and performs nearly on par with some liquid coolers. Noctua’s warranty (up to 6-10 years on some models) and build quality are incredible.
Storage Strategy: Speed and Capacity
We’re installing two SSDs – a Crucial P3 Plus and a Crucial P44. The P44 goes into the top PCIe slot for the operating system to ensure lowest latency to the CPU. The second drive handles projects and programs. Both are Gen4 drives with excellent real-world performance.
When installing M.2 drives, note that most modern motherboards support PCIe Gen4 drives, which are backwards compatible with Gen5 drives. This means you can install a Gen5 drive in a Gen4 slot, but you’ll be capped at Gen4 speeds.
Power Considerations: Don’t Skimp Here
The power supply is one component you shouldn’t compromise on. I’m using a Call Link Continuum 1050W 80+ Platinum unit. It’s made in China but has excellent quality components and a 5-year warranty.
At 1050W, we have plenty of headroom for our components with some room to upgrade. The 80+ Platinum certification means it runs efficiently at various loads, saving electricity costs over time.
Always choose a PSU with at least 20-30% more wattage than your system’s maximum draw. This ensures efficiency, longevity, and leaves room for future upgrades. Never cheap out on your power supply – it’s the component that feeds everything else.
Case Selection and Preparation
The Fractal North is one of my favorite cases ever. The build quality is exceptional, with thoughtful design elements like wood accents and excellent airflow. When preparing your case, remove all side panels to make installation easier.
Before installing the motherboard, check your standoffs. Most ATX cases use standard standoffs, but it’s always worth verifying you have the right ones. I once made a mistake of using the wrong screws, which meant the motherboard couldn’t sit properly.
GPU Installation: Avoiding Sag
GPU sag is a common issue with heavy graphics cards. For this build, we’re using an RTX 4090, which is substantial. The Fractal North case includes a vertical GPU support bracket that helps prevent sag.
If your case doesn’t have this feature, aftermarket GPU support brackets are available. They connect to the case and provide that extra support to keep your GPU straight.
Cable Management: The Final Touch
Good cable management isn’t just about aesthetics – it improves airflow and makes future upgrades easier. Use zip ties strategically, route cables behind the motherboard tray when possible, and use the case’s built-in routing options.
For this build, we’re using a modular power supply which makes this much easier. We only connected the cables we actually need, reducing clutter significantly.
Final Assembly and Testing
Once all components are installed, double-check all connections before powering on. Then update your BIOS settings – enabling XMP for RAM and adjusting fan curves as needed.
The moment of truth: when you press that power button and everything works perfectly, there’s no feeling quite like it. Building your own PC connects you more deeply to your technology, makes you more self-reliant, and opens up a whole new world of customization possibilities.
Conclusion: Your First Build
Building your first PC is a milestone worth celebrating. Yes, you might make small mistakes – I once installed RAM in the wrong slots and had to reseat it. But these mistakes are how we learn.
The beauty of building your own PC is that it’s uniquely yours. Every component choice, every cable routed perfectly, and every decision made reflects your priorities. That’s something no pre-built system can ever offer.
Happy building!